Craftsmanship
How a lamp is made, in the order it happens
Roughly seven hours of work spread over two days, most of it waiting on a finish to dry. Nothing here is a secret and none of it is difficult. It is just a lot of small steps done in the right sequence, by one person, on one lamp.
Materials
Five things go into a lamp
Everything on the list is a stock item with a part number. That is deliberate, and it is the reason we can still repair a lamp built in 2012.
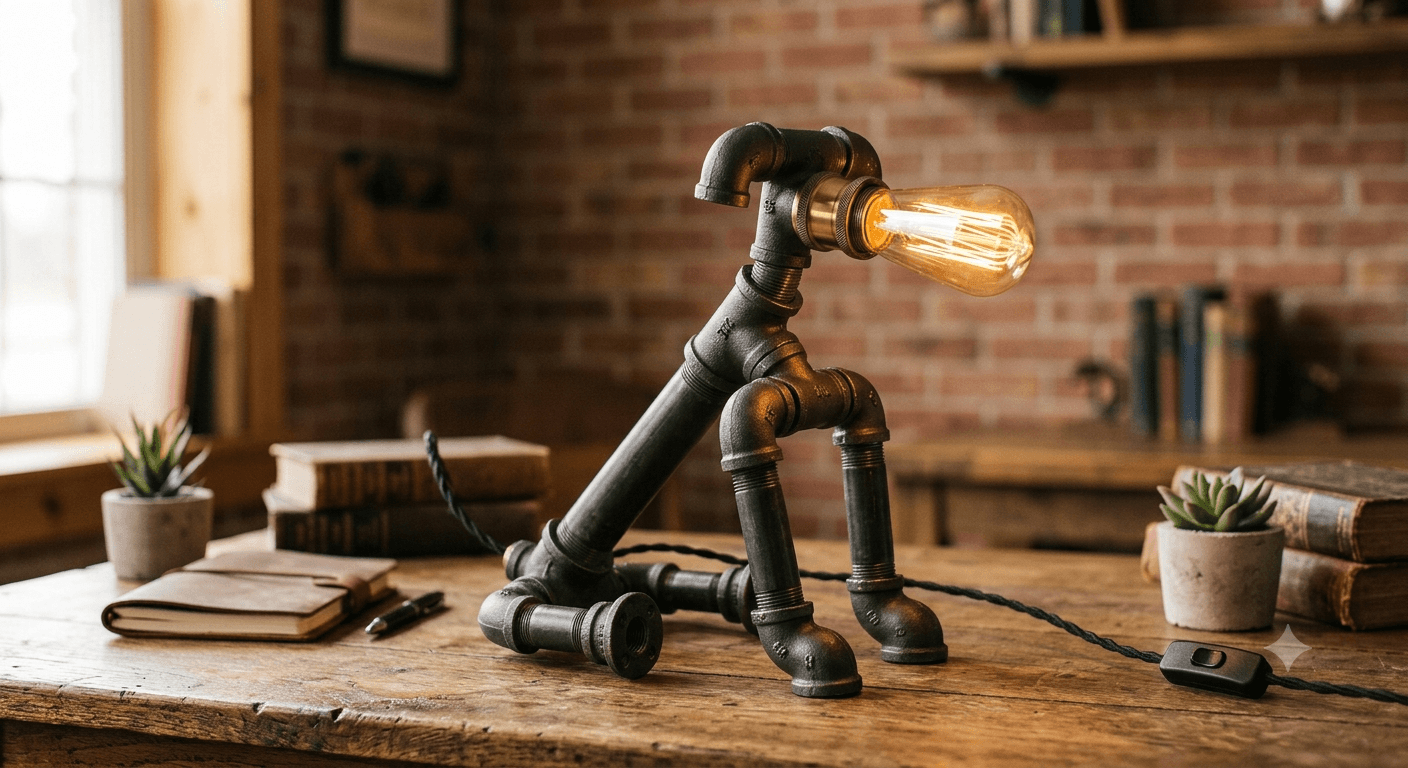
- Black iron pipe1/2" and 3/4" schedule 40
- Unfinished mild steel with a mill scale surface, the same pipe that carries gas lines in a house. It is heavy, it takes a patina beautifully, and its threads are a standard that has not changed in a century, which is the reason a part from 2011 still fits a lamp built this week.
- Cast floor flangesMalleable iron, 4" and 6"
- The base of nearly every lamp. Malleable iron is cast, not stamped, so the flange has real mass down low and the lamp does not walk when you pull the cord. We face the underside flat on a belt sander because castings rarely arrive flat.
- Brass socket shellsUL-listed E26, 60W rated
- A solid brass shell over a phenolic interior, with a keyless or turn-knob interior depending on the model. Brass because the shell is the part your hand touches and plated steel wears through to a dull gray in about three years.
- Twisted cloth-covered cord18/2 SPT-2, six feet
- Rayon braid over standard PVC-insulated conductors. The cloth is cosmetic and the insulation underneath is what carries the rating, which is worth saying plainly because a lot of cloth cord sold online is neither UL-listed nor insulated the way it looks like it is.
- ST64 amber filament bulbs40W incandescent, included
- A 64mm straight-sided tube with a visible squirrel-cage filament and a light amber glass. Warm, dim, and frankly not very efficient. An LED filament bulb of the same shape will fit and we will not argue with you about it.
The build
Twelve steps, start to boxed
This is the actual sequence taped to the wall above the bench. The order matters more than any single step does: finish before drilling, drilling before wiring, wiring before anything gets tightened for the last time.
Sourcing
Steel comes up Highway 140 on a truck every other Thursday from a supply house in Fresno. We buy pipe in 21-foot sticks and fittings by the case, which is why the shop always looks like it has more elbows than any two people could need.
Some of our cast fittings are domestic and some are imported. We do not pretend otherwise. What we do is reject on arrival: any casting with a cold shut, a filled-in thread, or a wall that rings thin gets set aside and goes back on the next truck.
Cutting and threading
Pipe gets cut to length on a manual cutter rather than a chop saw. A cutter rolls the wall in and leaves a clean square end with a burr you can predict, where an abrasive wheel leaves heat, slag, and an end that is never quite perpendicular.
Threads are cut on a pipe threading machine with a 1/2" NPT die and a steady flow of cutting oil. NPT is a tapered thread, so it tightens as it goes and the last turn and a half is where all the holding happens. Cut it dry and the thread tears; the joint will look fine and it will not hold.
Reaming and deburring
Every cut end gets reamed inside and filed outside. The inside burr matters because on several of our models the cord runs through the pipe, and a burr is a knife edge sitting against wire insulation for the next forty years.
Dry-fit and squaring
The whole lamp goes together loose first, with no sealant and no finish. We stand it on a granite surface plate against a framing square and check that the vertical is vertical and the base sits flat on all four quadrants.
This is the step where a lamp gets rejected. If a fitting has a lazy thread that lets the arm droop three degrees, there is no finish, no wax, and no clever photograph that fixes it later. Then it comes apart again and every joint gets a witness mark in silver paint pen so it goes back together at exactly the angle we approved.
Degreasing
Pipe arrives from the mill with an oil coating, and then we add cutting oil on top of that. All of it has to go or the patina will not take. Parts get scrubbed in a degreaser bath, hit with a red Scotch-Brite pad to open the surface, rinsed, and dried.
From this point until the wax goes on, nobody touches bare steel with a bare hand. Fingerprints are oil, and oil shows up in the finish as a permanent light patch shaped exactly like a thumb.
Blackening
For the Blackened Steel finish we use a cold selenium-based blackening gel, brushed on, worked, and rinsed. It is a conversion coating: it changes the surface of the steel rather than sitting on top of it, so it cannot chip or peel the way paint does. It can wear, and on high spots it will, which is the intent.
For Aged Brass we start from brass-plated fittings, darken them, then rub the finish back at the edges and knuckles with 0000 steel wool so the lamp reads as something that has been handled for a decade.
Color varies. Two bodies out of the same rack, blackened in the same batch, will land slightly differently depending on how the steel was milled. We do not correct for this.
Hand-rubbed wax
A paste wax of carnauba and beeswax goes on thin with a cloth, sits about twenty minutes, and gets buffed off by hand. The wax is what stops the blackening from rusting, and it is why a new lamp has a low sheen rather than a gloss.
It is also the only part of the finish that is consumable. Re-waxing once a year keeps it where it started, and takes about ten minutes.
Drilling the cord path
The cord exit is drilled after finishing, through the side wall of the flange or the back of a fitting depending on the model. It is a 3/8" hole, deburred inside and out with a rotary burr and then a countersink so there is no cut edge anywhere the cord can touch.
A rubber grommet goes in the hole. Steel against wire jacket is the single most common failure mode in a homemade pipe lamp, and a fifteen-cent grommet is the entire fix.
Wiring
The socket is a UL-listed E26 with a brass shell, rated 60 watts. Cord is 18/2 SPT-2 twisted cloth. The conductors get stripped 5/8", an underwriter's knot is tied inside the socket cap so any pull on the cord lands on the knot and not on the terminal screws, and the leads land under the screws clockwise so tightening pulls them in.
Polarity is not optional. The ribbed conductor is neutral and goes to the silver screw, which connects to the threaded shell. The smooth conductor is hot and goes to the brass screw, which connects to the small tab at the bottom of the socket. Wire it backwards and the lamp still lights, and the metal shell you unscrew a hot bulb from is live.
The inline rotary switch
The switch sits on the cord about fourteen inches from the plug, which puts it below the table edge and near the floor on most desks, so you can find it with a foot or a hand without looking. We set it at the same distance on every lamp.
It is a rotary because a rotary gives you a click you can feel. Rocker switches are cheaper and they are the part that fails first.
Testing
Every finished lamp goes on the test rack with a bulb in it and stays lit for two hours. We check for flicker, we put a hand on the socket shell to feel for heat that should not be there, and we work the switch through at least twenty cycles.
Before it comes off the rack it gets a plug-in polarity tester at the cord end. A lamp that fails any of this goes back to the bench, and the wiring comes out entirely rather than getting adjusted.
Signing and boxing
The underside of the base takes three steel stamps: the initials of whoever built it, the month and year, and the build number. Number 4,180 went out this spring. Then a last pass of wax over the stamp so the bare steel in the letters does not rust.
It gets double-boxed with the bulb packed separately, a card with the build number and care instructions, and a spare grommet, because we would rather you have one.
Why it takes a week
Most of the time is drying, not working
Hands-on time is about seven hours. The five to seven business days we quote covers the degreaser bath, the blackening rinse, the wax cure, and two hours on the test rack, none of which can be hurried without showing up in the finish.
We build in the order orders arrive. If we are four lamps deep when yours comes in, we will say so in the confirmation rather than quoting you the fast number and apologizing later.
Plainly
What all of that means for the lamp on your desk
Four things worth knowing before you order, including the ones that are arguably drawbacks.
They are not identical
Threaded joints tighten where they tighten. A tee that lands at 88 degrees instead of 90 is inside tolerance for us, and the photographs on this site are of one specific lamp, not the one you will receive. If matching pieces matters to you, order them together and say so, and we will build them in the same batch from the same stick of pipe.
The finish will change
Blackening is a surface conversion, not a coating. The places your hand goes will lighten to a warm gray over a few years and the rest will stay dark. Most people like this. If you do not, re-wax annually and it will stay closer to new. Do not use household cleaner or anything with ammonia on it, which strips the wax and takes the black with it.
60 watts is a real ceiling
The socket is rated 60W and the body is steel, which conducts heat straight down into a base you might touch. We ship a 40W bulb. Going over the rating will not trip anything, it will just quietly cook the socket interior and shorten its life. A 6W LED filament bulb draws less and runs cooler and is a completely reasonable choice.
Every part comes off
There is no glue and no rivet in the light path. Socket, switch, cord, grommet, and bulb are all replaceable with a screwdriver and about twenty minutes. This is what makes the lifetime warranty possible: we are not promising a socket will last forever, we are promising that when it does not, the lamp is still a lamp.
Related
The rest of the paperwork
If you want the part of this that is a promise rather than a description, it is in the warranty. If you want to know what to do with a lamp you already have, it is in care and bulbs.
- Lifetime warrantyWhat we cover, what we do not, and how a repair actually works when the shop is two people in the Sierra foothills.
- Care and bulbsRe-waxing, what not to clean it with, which replacement bulbs fit, and how to swap a socket yourself.
- CommissionsDifferent height, different reach, a pair that match, or something we have not built before. What we will take on and what we will turn down.